No money topic is too big or too small. Welcome to the Mouthy Money Podcast,…
Read More →
No money topic is too big or too small. Welcome to the Mouthy Money Podcast,…
Read More →
Welcome to Mouthy Money Competitions! We offer regular personal finance book, and other special competitions, to readers.
Read More →

Financial companies blanket themselves in complicated language. It’s time for that to end, says Mouthy…
Read More →
Mouthy Money Your Questions Answered panelist, Martyn James, answers a reader’s question on why their…
Read More →
Nick Daws gives practical tips on how to earn extra money renting out your driveway…
Read More →
A Lifetime ISA or ‘LISA’ is a government-backed savings scheme designed to help UK residents…
Read More →
Mouthy Money Your Questions Answered panelist, Iain Reid, answers a reader’s question on whether extended…
Read More →
Nick Daws sets out seven ways you can make money from your garden If you’re…
Read More →
Shoestring Jane looks at how tracking your spending can keep your finances in check. If…
Read More →
Host Edmund Greaves is joined by Polly Gilbert, co-founder of digital mortgage broker Tembo, to…
Read More →
If you’re anything like me, you spent your bank holiday lying in bed thinking up excuses to get out of DIY. The wardrobe doors you’ve had for a year without any handles, the broken slat at the bottom of the cupboard, that mysterious and slightly worrying patch of damp appearing on the living room wall…it’s all mind-numbingly dull, isn’t it? Well, last weekend instead of putting those projects off for another five years I actually got to work. I’m 31 and a bit now so I’m trying to be more grown up.
Previous DIY attempts have been nothing short of disastrous. When I was 14, me and my friend Emma decided to paint my room. Despite a get-rich-quick scheme where we mated our hamsters to make babies and sold them to a pet shop (surprisingly not that lucrative) we were broke. Most 14-year-olds are I suppose. But we still wanted to paint my room. Actually, Emma wanted to paint my room, but I digress.
What had looked like peach in the container was brown.
We found some leftover paint in my mum’s garage. It looked OK. There was a half tin. Surely enough to paint the room? She came over that weekend and we put my Alanis Morissette CD on really loud to discourage mum and my little brothers from coming in. We had a couple of brushes, also smuggled from the garage, and so we slapped some paint down. About 10 minutes in we stepped back to survey the work.
‘It’s brown.’ I said.
Emma just laughed.
Unfortunately I’d not adhered to the first rule of painting a place, which is to test out colours first. What had looked like peach in the container was a muddy brown. It looked bad. Emma was still laughing.
We finished up on the wall. We went no further, having created by accident, the first feature wall of any semi-detached home in Birmingham during the 90s. Probably. Back then it was all bobbly wallpaper and papier mâché, wasn’t it.
When mum found out she was furious. ‘You will have to keep your brown feature wall forever,’ she said. And that is how I came to have a bedroom painted brown for much of my teens, and also why I steered clear of DIY for next the 16 years.
Until now. My first job of the weekend arose from an Ikea Hack. You’re familiar with Ikea Hacks, I suppose? It’s where you buy cheap furniture at knock-down prices and pimp them up to look designer-like. Ikea is the greatest gift to man aside from Greggs the bakers IMHO.
In my head I imagined a walk-in job but obviously and regrettably, I am not Kim Kardashian.
I moved house last year and needed to buy a new wardrobe. I wanted a big wardrobe. In my head I imagined a walk-in job but obviously and regrettably, I am not Kim Kardashian. I did some tentative looking around at online shops such as Made but it made me a bit sad. Even at the reduced price of some of those online-only stores, you’re still paying hundreds for what can amount to a pitiful amount of storage. So Ikea it was. I picked up the most inoffensive wardrobe I could find (i.e: no faux pine) but bought it without handles. One of the things I love about Ikea is the ability to buy things in parts, especially the Pax wardrobes. I then bought four glass knobs off Etsy for an eye-watering price.
Ikea is the greatest gift to man aside from Greggs the bakers IMHO.
I’ve since learned you can get much cheaper ones from Amazon, street markets and even large department stores but at least mine came with some nice, solid screws. I dusted off an old measuring tape and drew two diagonal lines on the back of each door. It was pretty easy to decide where to draw those lines as the doors were panelled into squares already. I marked a point where the lines met, this was where I’d make the holes for the knobs. I hate measuring things but if you don’t, all the knobs won’t be lined up right and your wardrobe will look like Del Boy fitted it. I then drilled a hole in each door, swapping the first drill bit with a larger one to fit the size of the screw. Once that’s done, all you have to do is push your screw through each hole from the inside of the door and then affix the knobs at the end, taking care to tighten them. It couldn’t be easier and such a simple change makes a big difference. Plus, after a whole year of needing to prise my wardrobe open with my hands I can now open them really easily.
Technical: 2
Easiness: 9
Look: Bloody brilliant
Cost: £368 for the wardrobe, £1 or so for each handle.
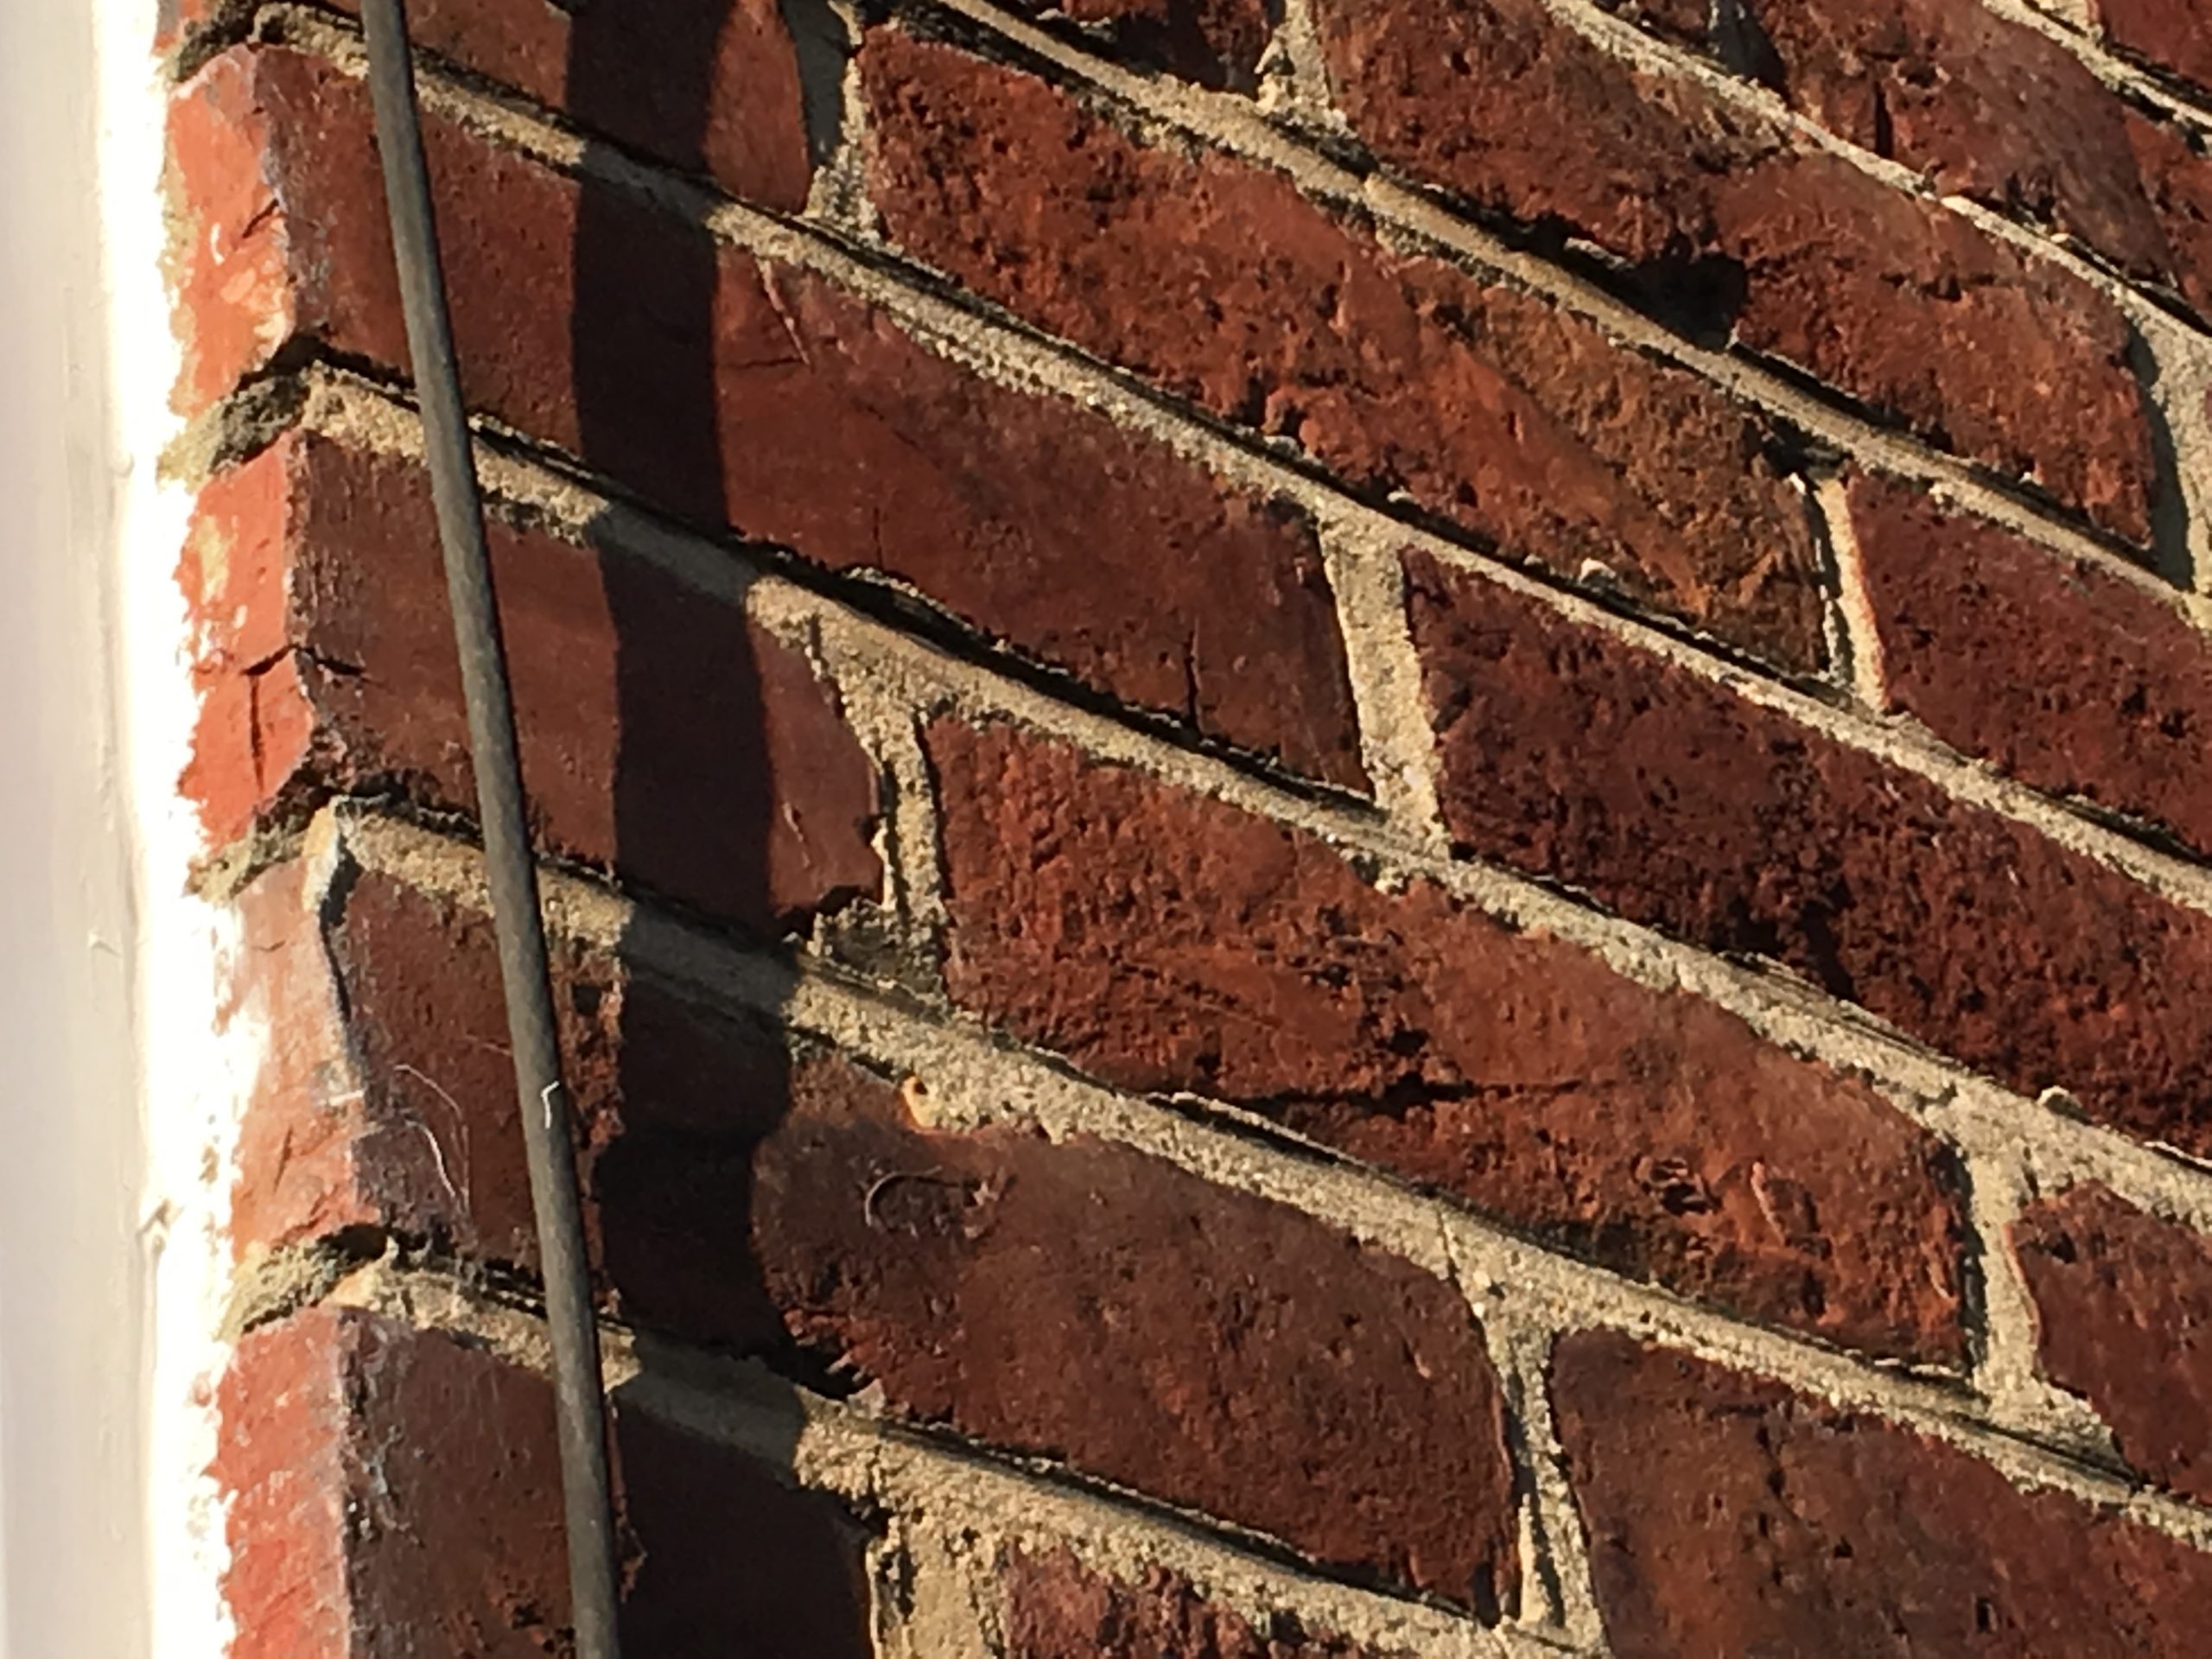
The next job was a bit harder. If I say I did all of it myself I’d be lying. For the sake of this post though, I’m going to ask you to suspend your disbelief. The wall in my living room has been leaking for some time. The window frame area, to be exact. An investigation revealed that the mastic between the window frame and brickwork outside was cracking, which was most likely the reason for the leak.
‘We’ decided that it doesn’t need to look neat as long as it keeps the rain out.
We had to (OK, not we. I was watching Netflix at the time) stand on a chair outside the house and painstakingly pick out all the old mastic. Once that was done, ‘we’ used a mastic gun to squeeze out the new mastic inbetween the cracks. It needs at least 24 hours to dry so you do need good weather. The other thing is that a professional might take care to make a clean white line on your brickwork by smoothing it with a finger perhaps. Well you can do it that way, but ‘we’ decided that it doesn’t need to look neat as long as it keeps the rain out. So there you have it. Two DIY jobs in one great weekend and something to discuss at dinner. DIY isn’t just great for your pocket, it’s great for your relationship too. Not sure I’ll be painting anytime soon though.
Technical: 8
Easiness: 1
Look: Practical
Cost: £3.29 sealant gun and £9.95 for mastic sealant.